Close up Photo

Using the Macro Lens.

Landscape Photo

Setting: slow speed (1/30 n below) and large number of aperture (F8 above).

Slow speed photo

Setting slow speed: less than 1/30.

Potraite Photo

Control the aperture to control DOF.

Milky Way Photo

manual focus using bulb or slow speed in the midnight.

Light Painting Photo

setting low speed: Bulb speed .

Infrared Photo

Using the infrared filter.

Friday 28 November 2014

Week 12 : 27 November 2014

assalamualaikum wbt

Kelas 27-11-2014
Kelas seperti biasa, bermula pada jam 4.30 ptg.
Dr Jamal menerangkan “important tools” pada Photoshop.


Retouching tools

1.              Marquee Tool

 Tool ini digunakan untuk membuat selection part samaada boleh menggunakan rectangular marquee, elliptical marquee, and single row marquee atau single column marquee.

2.              Lasso Tools


Lasso tools merupakan selecting tool juga. Tapi fungsinya kita boleh membuat selection terus pada bahagian mana yang kita nak dengan membuat selection di bahagian tepi garisan subject.

3.           Quick Selection tools and Magic Wand Tool


Tools yang membolehkan kita membuat selection pada background terus.


4. Crop tools


retouching


1. Menggunakan Spot Healing Brush tool
2. Menggunakan Healing Brush Tool
3. Menggunakan Patch tool
4. Menggunakan Red Eye Tool


Wednesday 26 November 2014

Week 11 : 20 November 2014

assalamualaikum wbt

Pada Minggu ini kami didedahkan pula tentang bagaimana mencantumkan gambar dengan menggunakan adobe photoshop.


dalam pelajaran ini, kami ditugaskan untuk membuat seberapa banyak image manipulation dengan menggabungkan seberapa banyak gambar.


Friday 14 November 2014

Week 10 : 13 November 2014

Pada minggu ni kami belajar tentang:
  1. Image transformation (scale, rotate, skew, distort, perspective, warp, crop, flip)
  2.  Modifying Image Color (using the color replacement tool, using the selective color, using the replace color)
  3. Using the Hue/ Saturation
A. Apply transformations

Transforming scales, rotates, skews, stretches, or warps an image. You can apply transformations to a selection, an entire layer, multiple layers, or a layer mask. You can also apply transformations to a path, a vector shape, a vector mask, a selection border, or an alpha channel. Transforming affects image quality when you manipulate the pixels. To apply non-destructive transformations to raster images, use Smart Objects. (See About Smart Objects.) Transforming a vector shape or path is always non-destructive because you’re only changing the mathematical calculations producing the object.
To make a transformation, first select an item to transform and then choose a transformation command. If necessary, adjust the reference point before manipulating the transformation. You can perform several manipulations in succession before applying the cumulative transformation. For example, you can choose Scale and drag a handle to scale, and then choose Distort and drag a handle to distort. Then press Enter or Return to apply both transformations.
Photoshop uses the interpolation method selected in the General area of the Preferences dialog box to calculate the color values of pixels that are added or deleted during transformations. This interpolation setting directly affects the speed and quality of the transformation. Bicubic interpolation, the default, is slowest but yields the best results.
Note:
You can also warp and distort raster images using the Liquify filter.


Transforming an image
A. Original image  
B. Layer flipped  
C. Selection border rotated
D. Part of object scaled 


Transform sub menu commands

Scale
Enlarges or reduces an item relative to its reference point, the fixed point around which transformations are performed. You can scale horizontally, vertically, or both horizontally and vertically.

Rotate
Turns an item around a reference point. By default, this point is at the center of the object; however, you can move it to another location.

Skew
Slants an item vertically and horizontally.

Distort
Stretches an item in all directions.

Perspective
Applies one‑point perspective to an item.

Warp
Manipulates the shape of an item.


Rotate 180, Rotate 90 CW, Rotate 90 CCW
Rotates the item by the specified number of degrees, either clockwise or counterclockwise.

Flip
Flips the item vertically or horizontally.


Friday 7 November 2014

Week 9 : 6 November 2014

assalamualaikum wbt

Pada minggu ke 9, kami diberikan pendedahanan mengenai

Photoshop


one more awesome software to learn. 

Dr Jamal was handle the class. Dr Jamal introduced the software and explain the basic button in that software.

What the important thing in Photoshop ?
-Selection
-Layers
-Image size alteration
-Noise reduction
-Removal of unwanted elements
-Selective color change
-Cropping an image
-Selecting and merging of images
-Image orientation
-Sharpening and softening images
-Slicing of images
-Change color images
-Change color depth
-Contrast change and brightening
-Color adjustments
-Stamp Clone Tool
-3D/ HD image editing
-Illustrator image editing

Format to save Photoshop file?
-PSD
-JPEG:most popular, supports 24 bit colour, even the cheapest digital cameras can capture images as JPEG files
-GIF: stands for Graphics Interchange Format, format of choice for web graphics, allows web designers to create simple animations.
-PNG: supports up to 48 bit color
-TIFF:files can be very large, for commerial printing.
-EPS: another print industry standard format
-PDF


Saturday 1 November 2014

Week 8 : Trip to Melaka

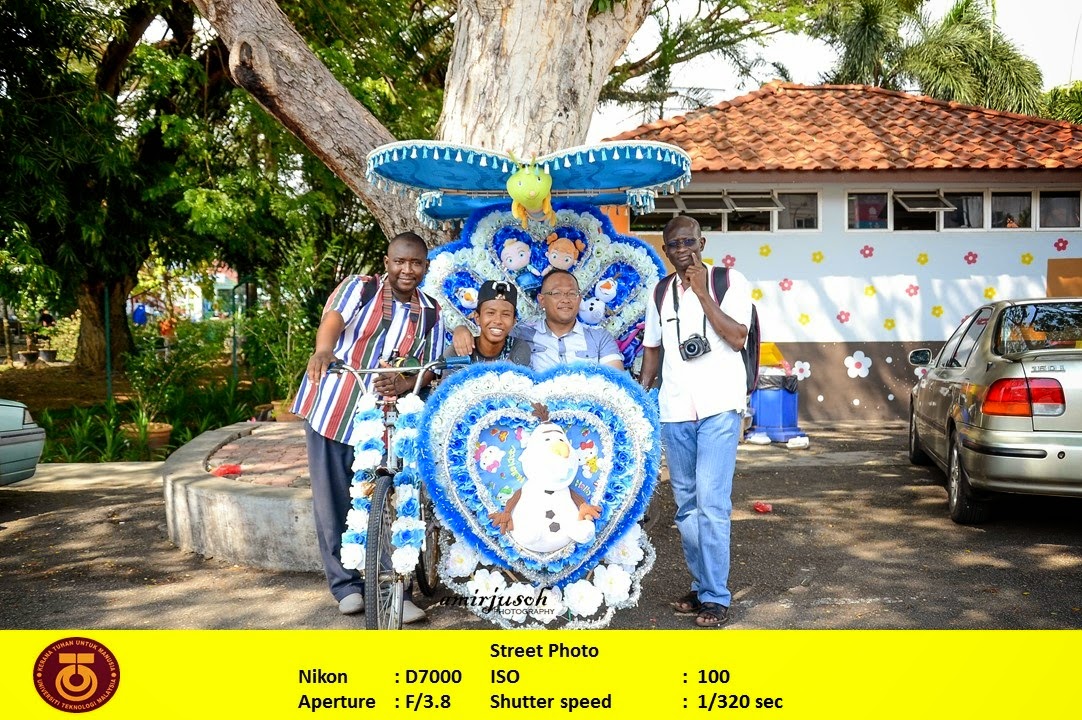
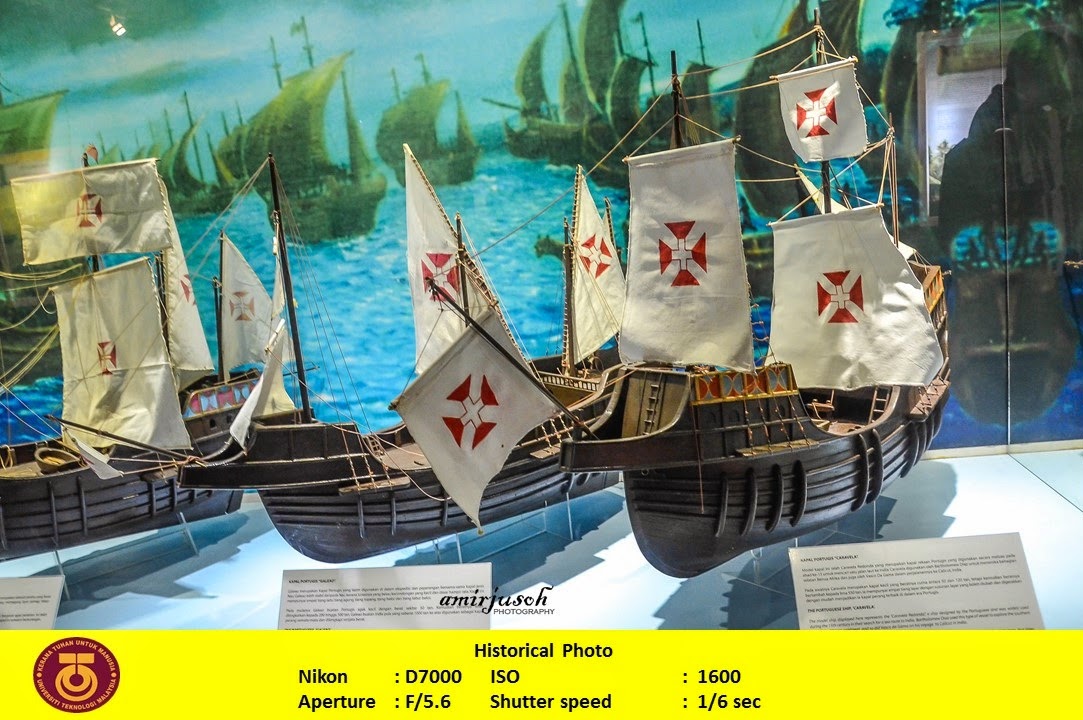
Pada 31-10-2014 yang lalu, kami telah ke Bandaraya Melaka untuk sesi "photoshoot" tempat-tempat menarik. Kami diberikan tugasan untuk mengambil gambar

Street Photography
Historical Photography
Photo Composition 


Berikut gambar-gambar yang sempat di ambil